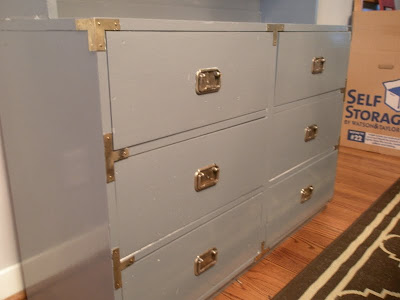
Being that I was running a smidge early for my shower, I gave myself a moment to chillax and tour the neighborhood for a bit to maybe gather some curb appeal inspiration. Such an innocent diversion, no? But as I was cruising down the lane, I stumbled upon a garage sale with this sitting on the curb:
Surely I was mistaken. Surely this campaign piece wasn't actually for sale. It's on the curb - doesn't that mean that it's sold? Not wanting to just leave a stone unturned, I waddled up to the sale hostesses and inquired about the piece. She informed me that not only was it for sale, but it was so "ugly" that she would give it to me for $60. I don't think my mouth has ever worked so fast to produce the word: SOLD. So me in my 4 inch heels weaseled that thing into my car pronto, just in time to go shower our little nearlywed with love.
Fast forward to present day when, less than 12 hours after moving into la nueva casita, I couldn't resist painting the hutch a second longer. As soon as I saw Jenn's campaign piece on LGN, I absolutely fell in love with the smoky gray enamel against the polished bronze.
I knew that I was definitely going to have to polish all of that brass goodness.
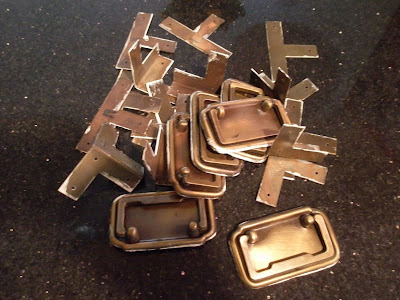
So, I began by pulling off all of the brass hardware:
With all of the hardware removed and drawers pulled out, I was ready to paint!
Just like Jenn at LGN, I chose Rustoleum's Smoke Gray not only for the color, but also for the high-gloss, laquard effect.
I used a foam roller to apply this oil-based paint and after one coat, we were looking rather phenom:
While the first coat dried, I tackled all of that brass!
I got a lot of the heavy tarnish off with a scouring pad and Bar Keeper's Friend and then refined the polish with Brass-O. Once the polishing was finished, the hutch and chest were ready for their second coat of paint! As it was a warm, dry day, both coats dried rather quickly, so I went ahead and replaced all of the hardware once the second coat dried a bit.
After the hardware was applied, I actually allowed the pieces to cure for two days. I really wanted to be sure that everything was as dry as could be before I started loading up the shelves and drawers! After the curing phase, I re-attached the hutch to the chest using pre-existing brackets and screws on the back of the pieces.
I was practically giddy with the final product - I loved the bright, shiny brass against the gray.


Very nice indeed. The best part was hearing the passion in your voice for the project ;D
ReplyDelete