Showing posts with label diy.. Show all posts

Thursday, August 7, 2014

quite a crafty closet {part two...finally}.

So remember that craft closet I started re-doing MONTHS ago? Ya. That one. No, your eyes aren't deceiving you. While it only took one weekend to actually redesign the closet, it's taken me forever and a decade to post about it. Horrible blogger award right here. So let's not waste anymore time, shall we?

I left y'all with the closet completely stripped and painted with totes adorbs black polka dots.

As I told y'all in my last post, I purged a ton of the junk that was taking up space in the closet, but the rest I wanted to be sorted into perfectly colorful boxes. But still wanting to keep costs as low as possible, I chose to re-purpose and re-paint boxes that I already had laying around the house.

Yup, that meant old file boxes, CD boxes, and even cereal boxes. I used them all! I painted most of the boxes using bright, acrylic paints I already had, and I covered some of the boxes with wrapping paper. Any metal components on the boxes got updated with a dab of Rub 'n Buff, and before I knew it, I had a closet full of lovely storage!


I spray painted some plastic drawers I already owned and labeled them with vinyl I cut using my Silhouette for an updated paper storage system!

I did allow myself to buy one item for this closet re-do, and it's something I had my eye on for a while. I always wanted a rolling cart that could not only store some of my smaller, less bulky items, but would also serve as a home for my sewing machine. I found this chrome rolling cart on Amazon:

After a fresh coat of gold spray paint (duh) and some stellar labeling, it was the perfect storage piece!

The drawers hold all of my smaller office and sewing supplies and Silhouette tools:


And my sewing machine sits happily perched on top of the cart!

I love that instead of taking over my entire dining table every time I need to sew something, I can just roll this cart out and keep everything contained in the office!

To say I'm obsessed with how this closet turned out would be the understatement of the century.


I'm trying to convince Mr. Spouse that the logical next step in our office is to take the closet door off...

Wednesday, June 4, 2014

quite a crafty closet {part one}.

Ever since I girly-fied our office last summer, it's quickly become one of my favorite places. Everything has a home here, and those homes look good, if I do say so myself. Nice and clean and full of white and gold.

The truly tragic part of the room, however, was the office closet.

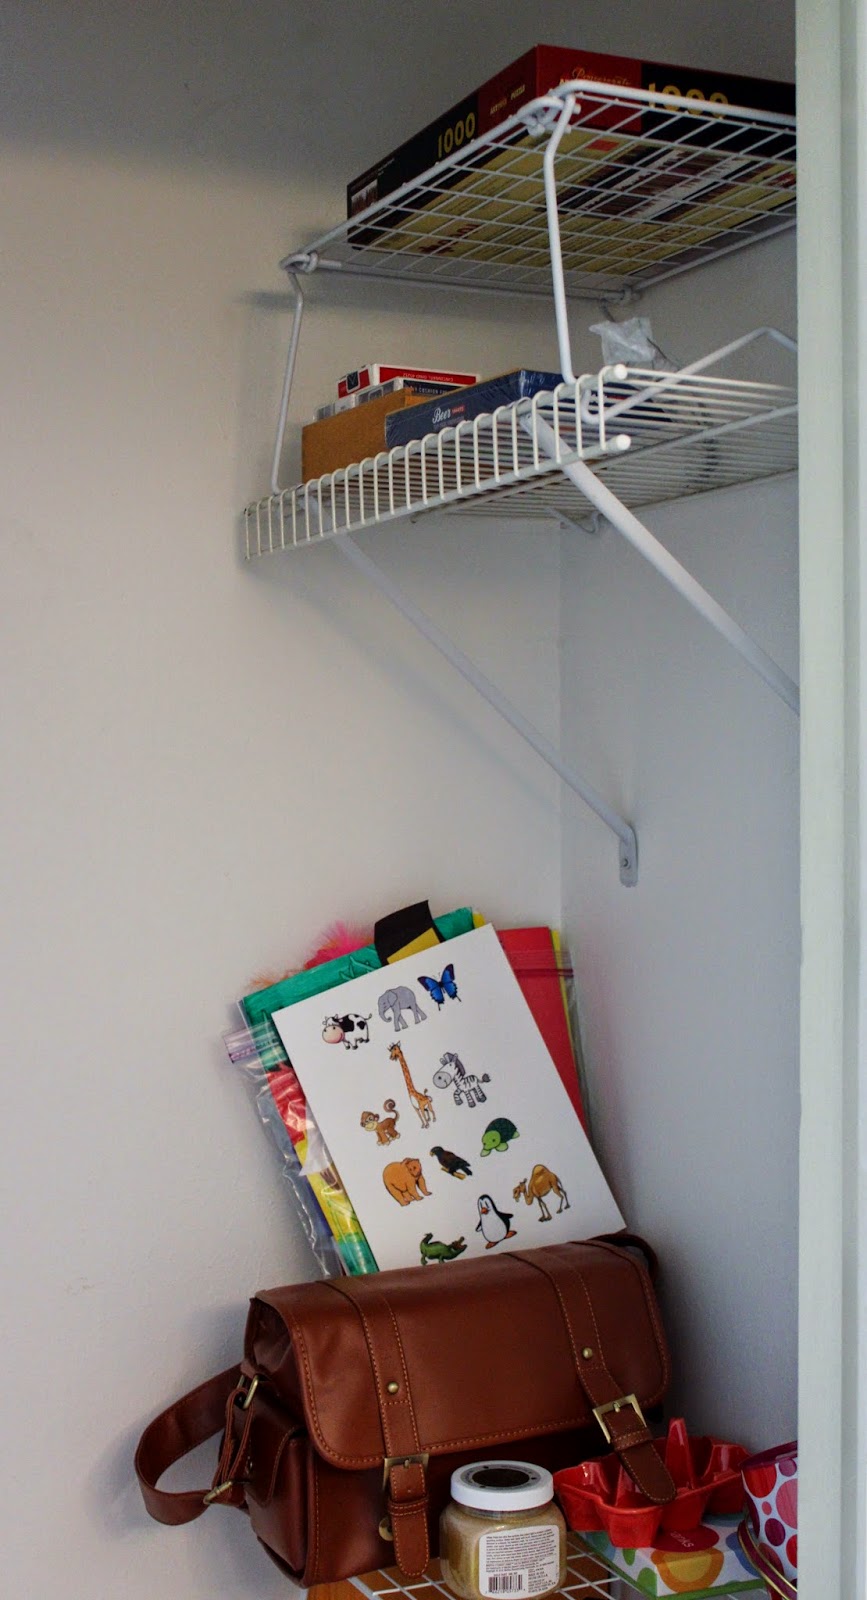
Heaven help us. That poor closet was chalk-full of papers, brushes, paints, fabrics, cameras, and all things crafty - none of which I could retrieve without risking fatal harm to life and limb.

On the left side, the built-in shelves were somewhat organized - boxes and tubs helped wrangle paper, paint, brushes, and small craft tools. But that small bit of organization sure was ugly.

I don't even want to show you close-ups.


On the right side of the closet, the view wasn't much better. The previous owners had installed some Elfa shelving, but it was so sporadically spaced, that I really wasn't utilizing it.

The floor was a complete mess of poster board, boxes I had been collecting in hopes of painting them, bags, receipts that needed to be shredded, posters from my old classroom, and who knows what else!

Ickidy-doo-dah! Clearly, the poor closet needed a massive overhaul, but seriously, it's just a closet, so I wanted to accomplish the following tasks on the slimmest of budgets:
  1. Clean out and purge items in the closet.
  2. Remove the wire, Elfa shelving from the right-side wall.
  3. Paint the walls in a fun pattern.
  4. Find a rolling cart that can be used to store craft items and my sewing machine.
  5. Make the closet more aesthetically appealing and easy to maintain.
So here we go. 

Step one: Clean Out and purge items in the closet. I find that when purging and cleaning out, it's best to unload absolutely everything from the space, evaluate each item's usefulness, and get rid of anything and everything you don't need or haven't used in a year. It took me a few hours to unload everything from the closet and sort it all into piles of items to keep, trash, or donate.

Whilst sorting, I discovered that I, single-handedly, owned 1,395 index cards, 48 full stacks of post-its, over 3,000 paper clips, and 22 binders. TLC's "Hoarders" should be calling me any day now. 

Once the purging and piling organizing was complete, the closet looked quite ready for its facelift. Talk about a clean slate!

Step two: Remove the Elfa shelving from the right-side wall. This step was super quick and easy - just a little screwdriver action and those things came down quick!

I didn't get a good "after" shot of our Elfa-free zone, but it gave the closet a good 1-2 feet of space back. Oh, happy day!

Step three: Paint the walls in a fun pattern. For this step, I knew I wanted to bring a pop of "something" to the closet just to make it a bit more fun, and a solid paint color wasn't going to cut it. But, wanting to keep that little "budget thing" under wraps,  I decided to make my own re-usable stencil using blank stencil sheets for $3.99. A very closet-friendly price. I followed this super-easy tutorial and cut a stencil full of 3 inch polka dots using my Silhouette. Using some black acrylic paint I already had, I began stippling away, and a few hours later, the closet was looking like she was straight out of a Kate Spade store.


Let's take a moment to honor the polka-dotted closet, shall we?

With the closet looking perfectly cheery in her new polka dots, it was time to move on to steps four and five, but I'll save those steps for next time. I wouldn't want to detract from the goodness that is the polka dotted closet after all.

Happy polka dotting!

Sunday, March 30, 2014

the master is mellowed.

The tragedy that was our master bedroom is now a thing of the past, thank ya, Jesus.

Y'all saw a few weeks ago that we tackled the raised stripes that so lovingly adorned all four walls and ended up being exceedingly daring by painting our room a vibrant shade of....WHITE!

Bold, I know, but if Martha Stewart thought it was good enough to add to her paint line, it was good enough for me...and color-blind Mr. Spouse. Luckily, with this room, painting was the only un-fun part of the process. The rest was just decorating! Hoo-ah!

We snagged some bedding on sale from Pottery Barn (don't tell Phoebe Buffay), and since we finally decided to buy some big boy and girl furniture, we also purchased a new upholstered headboard from Wisteria (it took all I had not to outfit the entire room in Wisteria). I also grabbed a fabulously-trellised rug during one of Rugs USA's rockin' sales. All that put together gives us....

Sweet goodness, we finally have a big kid room! Who knew? Let's take a closer look, shall we?


I mean, it actually looks like real, live adults live here, y'all. The hardest things for us to find were definitely the nightstands. The Mr. really dug the idea of mirrored nightstands, but they were so stinking expensive that it took us a while to find a pair that fit our space and our budget. We ended up snagging a pair of nightstands for $150 on Craigslist. I could have kissed Craig and his list.

My other favorite find was this set of onyx cross-sections I found in Wisteria's "flea market". I am completely obsessed with the black matte and even more obsessed with the fact that it was originally $350 for the set and I got them for $120.


I am still absolutely loving our bedding as well. I was a wee bit nervous about having white bedding with navy piping knowing that I couldn't bleach it if needed, but really it's been easy to maintain and I haven't had any problems with keeping it clean. As for the shams, an unbelievably talented friend monogrammed the navy shams for us, and wanting a little pop of color, I made the two orange shams!


It's amazing what buying big-kid furniture can do for a room, amen?

Before:

After:

Happy Sunday, y'all!

Wednesday, March 12, 2014

mellowing out the master.

As you can tell from my post about our den, I kind of took a drink from a fire hydrant when it came to geometric prints and loud colors when we first moved.


Not really knowing my style or what I wanted for this house, I decided to go with what was hip and cool and now, followed the trends, and let those trends vomit all over my poor little house in the cheapest way possible. Welcome to life with a wannabe-style-diva-newlywed.

But as we continue to settle into this house, I'm finding that whites and greys are classically gorgeous "colors", I love pops of color in exceedingly restrained amounts, and it's okay to spend a little money on your house if you're spending it on the right pieces. Just like my momma taught me with clothes - spend the extra Ben Franklin on the black, patent pumps, not the extra plate for your crimping iron.

You saw a couple of weeks ago that I made a few changes to our den to help calm it down a smidge.

But now it's time to talk master bedroom. Back story: When we got engaged and starting planning life under the same roof, I completely blanked when it came to decorating our master bedroom. Why? Who stinking knows. For some reason, it just flustered me. What linens do boys AND girls like equally? Plaid? Stripes? Small florals? Solids? Navy? Green? I mean COME ON. I wanted the Mr. to enjoy this room just as much as I did, right? So again, not knowing what to do, I decided to go the cheapeast route possible. I snatched a headboard from my mom's garage, grabbed some shams and curtains from Target and a duvet cover off the sale rack at Pottery Barn. Winning combination?

I'm gonna go with no. Gender neutral colors? Sure. Stripes, florals and solids all represented? You betcha. Winner winner chicken dinner? Euh.

Let's break this down, shall we? Our master bedroom contained: a duvet cover that didn't even cover the sheets, wedding and candid pics adorning the walls...
{You can see I already got the itch to re-do this room with my paint swatches on the wall.}

...a tragically traditional, too-small rug that we got only because it was $75 (still overpaid if you ask me)...

...iron pieces on the other wall, because hey, we've already sunk this low.

I think it's safe to say that this room needed a complete overhaul. And I'm happy to say that I think we gave it that. We decided to spend a bit of money on this room to buy some high-quality, classic pieces that we can use for years, invested in some linens that actually covered our bed, and really took our time finding exactly what we wanted. 

But before all of the fairies and butterflies could come in and magically transform the room, it had to get ugly. And I mean really ugly. Because some previous owner in all of their infinite wisdom decided that two feet of one-inch stripes around the room would be the best design option for the space. See them?


Cute, right? We'll talk about the paint choice in a bit, but for now, we HAD  to get those stripes off the wall! It wasn't that the color was seeping through - the actual raised stripes were visible ALL THE WAY AROUND THE ROOM. Lovely. 

So that meant sanding. A lot of sanding.

I used a 150 grit sand paper on my electric sander and very lightly moved the sander in a circular motion in an attempt to remove the raised stripe without stripping the texture of the wall. I just didn't have it in me to re-texture the entire room. Who does?

I'm happy to say that after a few hours of light sanding, the wall had evidence of variously colored stripes, but no raised surfaces. Hallelujah, praise the Lord! Now all that was left to do was paint, paint paint! We decided to go with Martha Stewart's Picket Fence from Home Depot. After all that color from the bedding in the room, we really wanted a completely clean slate, and this paint color helped get us there. It's white (how daring) with more grey/blue undertones which we liked considering our plans for new bedding, etc. After a couple of coats, we were looking new, fresh, and ready for an overhaul!


More on this update soon, but for now, a lovely, SMOOTH, blank canvas. Glory be.