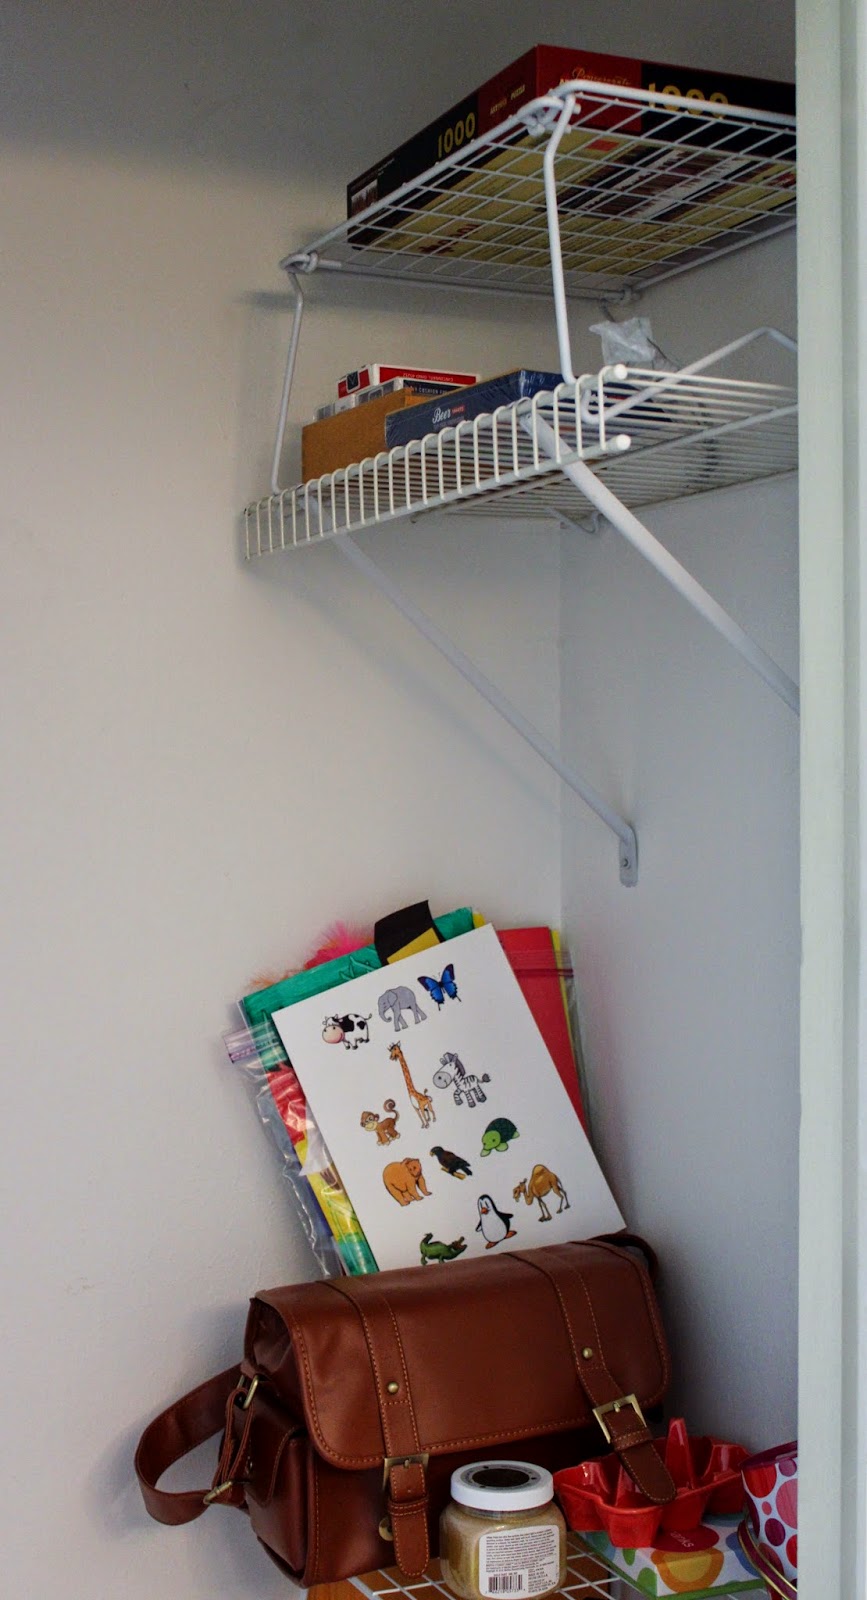
The truly tragic part of the room, however, was the office closet.
Heaven help us. That poor closet was chalk-full of papers, brushes, paints, fabrics, cameras, and all things crafty - none of which I could retrieve without risking fatal harm to life and limb.
On the left side, the built-in shelves were somewhat organized - boxes and tubs helped wrangle paper, paint, brushes, and small craft tools. But that small bit of organization sure was ugly.
I don't even want to show you close-ups.
On the right side of the closet, the view wasn't much better. The previous owners had installed some Elfa shelving, but it was so sporadically spaced, that I really wasn't utilizing it.
The floor was a complete mess of poster board, boxes I had been collecting in hopes of painting them, bags, receipts that needed to be shredded, posters from my old classroom, and who knows what else!
Ickidy-doo-dah! Clearly, the poor closet needed a massive overhaul, but seriously, it's just a closet, so I wanted to accomplish the following tasks on the slimmest of budgets:
- Clean out and purge items in the closet.
- Remove the wire, Elfa shelving from the right-side wall.
- Paint the walls in a fun pattern.
- Find a rolling cart that can be used to store craft items and my sewing machine.
- Make the closet more aesthetically appealing and easy to maintain.
So here we go.
Step one: Clean Out and purge items in the closet. I find that when purging and cleaning out, it's best to unload absolutely everything from the space, evaluate each item's usefulness, and get rid of anything and everything you don't need or haven't used in a year. It took me a few hours to unload everything from the closet and sort it all into piles of items to keep, trash, or donate.
Whilst sorting, I discovered that I, single-handedly, owned 1,395 index cards, 48 full stacks of post-its, over 3,000 paper clips, and 22 binders. TLC's "Hoarders" should be calling me any day now.
Once the purging and piling organizing was complete, the closet looked quite ready for its facelift. Talk about a clean slate!
Step two: Remove the Elfa shelving from the right-side wall. This step was super quick and easy - just a little screwdriver action and those things came down quick!
I didn't get a good "after" shot of our Elfa-free zone, but it gave the closet a good 1-2 feet of space back. Oh, happy day!
Step three: Paint the walls in a fun pattern. For this step, I knew I wanted to bring a pop of "something" to the closet just to make it a bit more fun, and a solid paint color wasn't going to cut it. But, wanting to keep that little "budget thing" under wraps, I decided to make my own re-usable stencil using blank stencil sheets for $3.99. A very closet-friendly price. I followed this super-easy tutorial and cut a stencil full of 3 inch polka dots using my Silhouette. Using some black acrylic paint I already had, I began stippling away, and a few hours later, the closet was looking like she was straight out of a Kate Spade store.
Let's take a moment to honor the polka-dotted closet, shall we?
With the closet looking perfectly cheery in her new polka dots, it was time to move on to steps four and five, but I'll save those steps for next time. I wouldn't want to detract from the goodness that is the polka dotted closet after all.
Happy polka dotting!


.JPG)


Love those polka dots! Adorable!
ReplyDeleteHaley
Following Optimism in 2nd Grade