


Ugh. Excuses are numerous, but I won't insult your intelligence with them. Let's get on to the good stuff.
Ever since we moved into our little casita, I have been dying to bring in some vibrancy to the kitchen. We were so lucky to find a house with an updated kitchen, but I have always wanted more color and brightness in the space.

Modern, yes, but bright and cheery? Eh.
Since this isn't our forever home and we don't have money growing on the trees in the back yard, I began looking for temporary, inexpensive fixes to my qualm with lack of color and brightness in the kitchen. Imagine the joy I felt, then, when I saw that Emily A. Clark had a quick, inexpensive solution to opening up her kitchen that had a similar color scheme to ours.

I absolutely loved that simply removing her cabinet doors brought so much space and lightness to her kitchen! This type of project would fit my requirements perfectly:
- Temporary (cabinet doors can always be re-installed)
- Inexpensive (the only cost you are looking at is the medium you choose for the back of your cabinet)
But to bring a bit more color into my cabinets, I decided that rather than painting the back of my cabinet like Emily did, I would install fabric. The fabric would bring the color our kitchen so ardently needed while still offering the chance for me to remove it easily if I ever want to go a different direction.
I browsed the intraweb for a few days before finding this perfectly bright and cheery fabric from fabric.com:

I started this project off by emptying out the cabinet (don't mind the electric cords for the under-cabinet lighting)...

...and removing the doors by simply unscrewing the hinges.

Super quick and easy!

I then removed the shelves from the cabinet:

I measured the area of the back wall of the cabinet, trimmed the fabric accordingly, and ironed the fabric to remove any creases:

I then folded about an inch hem on each side...

...and ironed the fold to create a sharp, crisp edge.
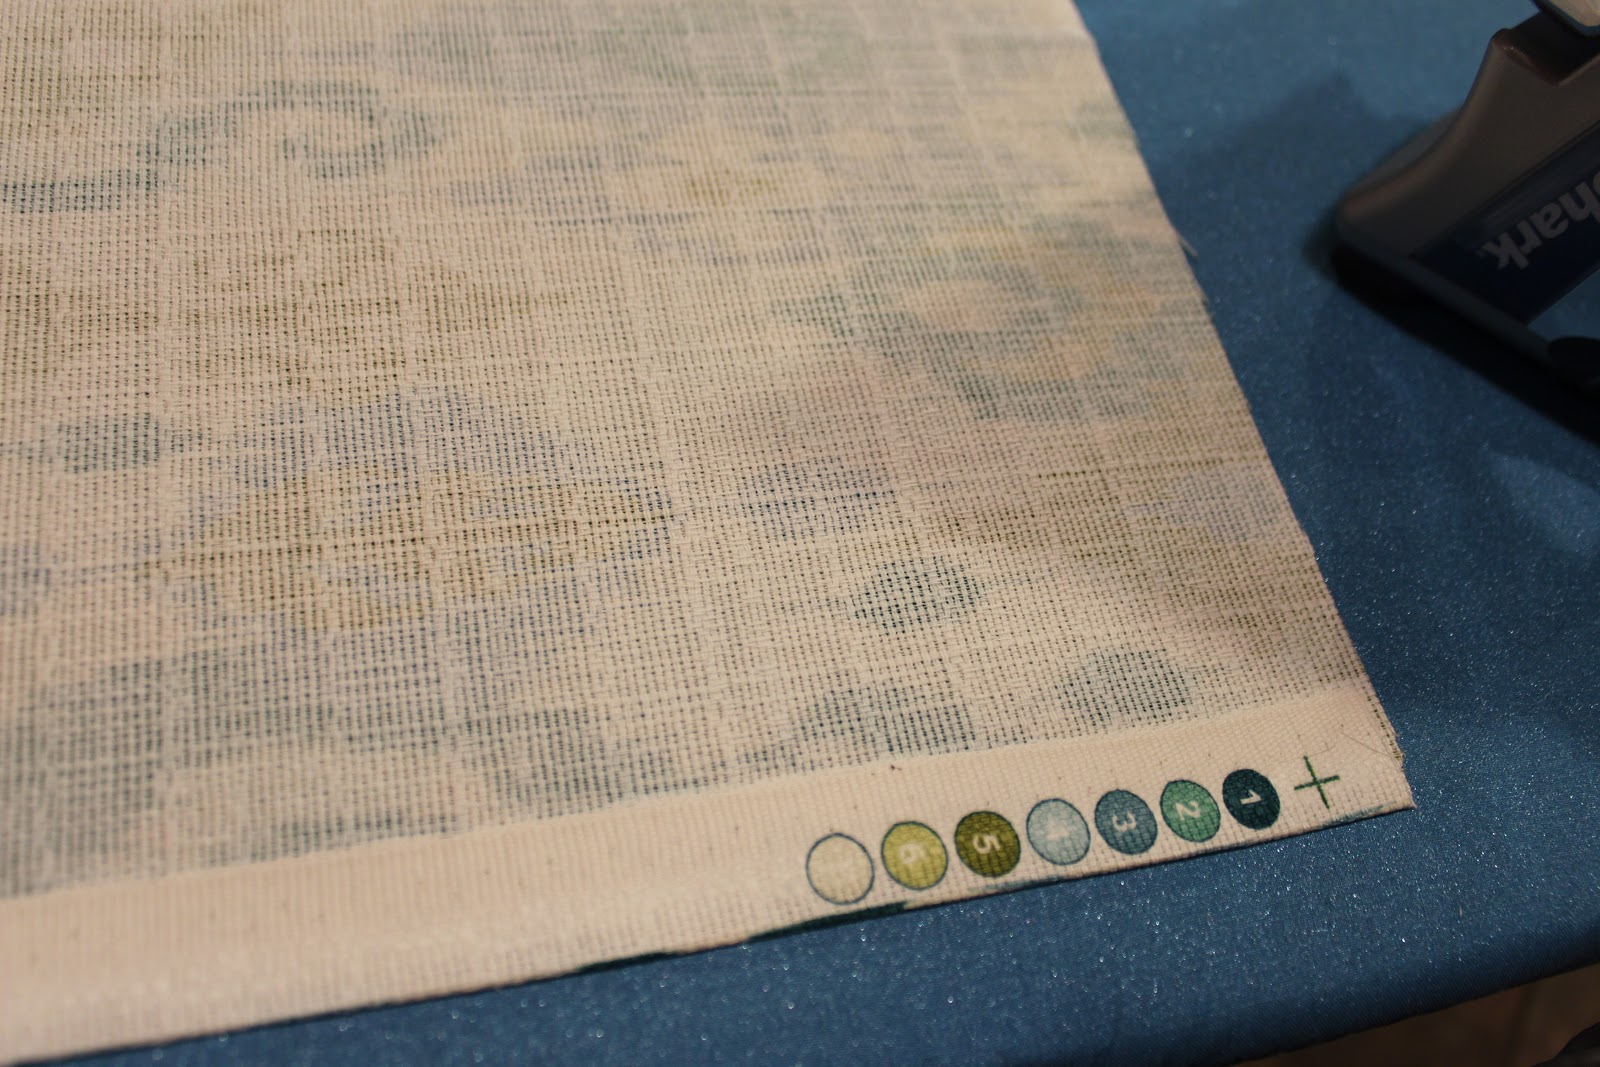
After ironing all four sides, I had nice, clean edges that wouldn't show any fray in the cabinet:

Using a staple gun, I then began installing the fabric onto the back wall of the cabinet:

I stapled as close to the sides of the cabinet as the staple gun would allow, but the pattern of the fabric also helped to hide the staples, so camouflaging wasn't really needed. On the bottom edge of the cabinet, I made sure to mask all electric cords from the under-cabinet lighting system:

About 3 minutes later, the entire cabinet was covered! I love me a quick and easy project!

After re-installing the shelves...

...the only thing left to do was load up and style the shelves!


I love how such a small change really opens up and brightens this corner of the kitchen!
Before:
After:

And the joy of seeing all those white, ironstone, and milk glass dishes I've had hidden away is an added bonus!

What temporary fixes have y'all made to your spaces lately?

I love this! I read it slow to soak it up, it has been a while since your last post. I wanted to really savor it! I have a couple of cabinets in my kitchen that could use this treatment. Great idea!!
ReplyDelete