Showing posts with label storage.. Show all posts

Thursday, August 7, 2014

quite a crafty closet {part two...finally}.

So remember that craft closet I started re-doing MONTHS ago? Ya. That one. No, your eyes aren't deceiving you. While it only took one weekend to actually redesign the closet, it's taken me forever and a decade to post about it. Horrible blogger award right here. So let's not waste anymore time, shall we?

I left y'all with the closet completely stripped and painted with totes adorbs black polka dots.

As I told y'all in my last post, I purged a ton of the junk that was taking up space in the closet, but the rest I wanted to be sorted into perfectly colorful boxes. But still wanting to keep costs as low as possible, I chose to re-purpose and re-paint boxes that I already had laying around the house.

Yup, that meant old file boxes, CD boxes, and even cereal boxes. I used them all! I painted most of the boxes using bright, acrylic paints I already had, and I covered some of the boxes with wrapping paper. Any metal components on the boxes got updated with a dab of Rub 'n Buff, and before I knew it, I had a closet full of lovely storage!


I spray painted some plastic drawers I already owned and labeled them with vinyl I cut using my Silhouette for an updated paper storage system!

I did allow myself to buy one item for this closet re-do, and it's something I had my eye on for a while. I always wanted a rolling cart that could not only store some of my smaller, less bulky items, but would also serve as a home for my sewing machine. I found this chrome rolling cart on Amazon:

After a fresh coat of gold spray paint (duh) and some stellar labeling, it was the perfect storage piece!

The drawers hold all of my smaller office and sewing supplies and Silhouette tools:


And my sewing machine sits happily perched on top of the cart!

I love that instead of taking over my entire dining table every time I need to sew something, I can just roll this cart out and keep everything contained in the office!

To say I'm obsessed with how this closet turned out would be the understatement of the century.


I'm trying to convince Mr. Spouse that the logical next step in our office is to take the closet door off...

Wednesday, June 4, 2014

quite a crafty closet {part one}.

Ever since I girly-fied our office last summer, it's quickly become one of my favorite places. Everything has a home here, and those homes look good, if I do say so myself. Nice and clean and full of white and gold.

The truly tragic part of the room, however, was the office closet.

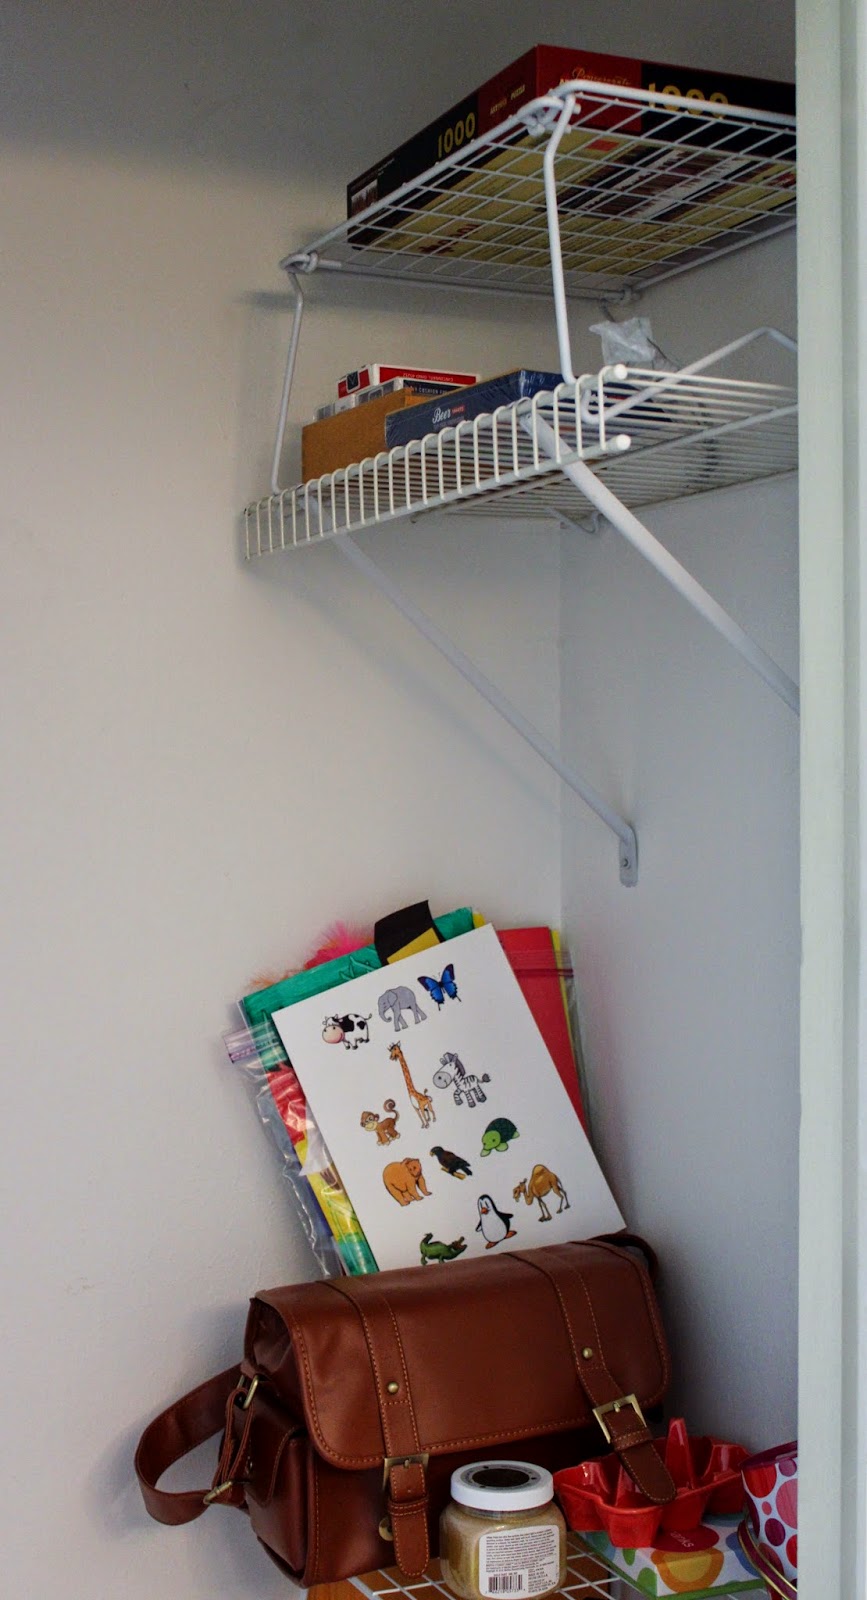
Heaven help us. That poor closet was chalk-full of papers, brushes, paints, fabrics, cameras, and all things crafty - none of which I could retrieve without risking fatal harm to life and limb.

On the left side, the built-in shelves were somewhat organized - boxes and tubs helped wrangle paper, paint, brushes, and small craft tools. But that small bit of organization sure was ugly.

I don't even want to show you close-ups.


On the right side of the closet, the view wasn't much better. The previous owners had installed some Elfa shelving, but it was so sporadically spaced, that I really wasn't utilizing it.

The floor was a complete mess of poster board, boxes I had been collecting in hopes of painting them, bags, receipts that needed to be shredded, posters from my old classroom, and who knows what else!

Ickidy-doo-dah! Clearly, the poor closet needed a massive overhaul, but seriously, it's just a closet, so I wanted to accomplish the following tasks on the slimmest of budgets:
  1. Clean out and purge items in the closet.
  2. Remove the wire, Elfa shelving from the right-side wall.
  3. Paint the walls in a fun pattern.
  4. Find a rolling cart that can be used to store craft items and my sewing machine.
  5. Make the closet more aesthetically appealing and easy to maintain.
So here we go. 

Step one: Clean Out and purge items in the closet. I find that when purging and cleaning out, it's best to unload absolutely everything from the space, evaluate each item's usefulness, and get rid of anything and everything you don't need or haven't used in a year. It took me a few hours to unload everything from the closet and sort it all into piles of items to keep, trash, or donate.

Whilst sorting, I discovered that I, single-handedly, owned 1,395 index cards, 48 full stacks of post-its, over 3,000 paper clips, and 22 binders. TLC's "Hoarders" should be calling me any day now. 

Once the purging and piling organizing was complete, the closet looked quite ready for its facelift. Talk about a clean slate!

Step two: Remove the Elfa shelving from the right-side wall. This step was super quick and easy - just a little screwdriver action and those things came down quick!

I didn't get a good "after" shot of our Elfa-free zone, but it gave the closet a good 1-2 feet of space back. Oh, happy day!

Step three: Paint the walls in a fun pattern. For this step, I knew I wanted to bring a pop of "something" to the closet just to make it a bit more fun, and a solid paint color wasn't going to cut it. But, wanting to keep that little "budget thing" under wraps,  I decided to make my own re-usable stencil using blank stencil sheets for $3.99. A very closet-friendly price. I followed this super-easy tutorial and cut a stencil full of 3 inch polka dots using my Silhouette. Using some black acrylic paint I already had, I began stippling away, and a few hours later, the closet was looking like she was straight out of a Kate Spade store.


Let's take a moment to honor the polka-dotted closet, shall we?

With the closet looking perfectly cheery in her new polka dots, it was time to move on to steps four and five, but I'll save those steps for next time. I wouldn't want to detract from the goodness that is the polka dotted closet after all.

Happy polka dotting!

Saturday, December 14, 2013

saving the spice cabinet.

When I initially organized my pantry a couple of years ago, I also tried to come up with a prettier/more efficient way to store my spices. I used some spice jars I found at Ikea, labeled the jars, and considered it a done deal. However, after only a couple of weeks, I started noticing that some jars weren't closing...

...causing a lot of my spices to dry out quickly.

Attractive, right? But being that the real world gives you bigger fish to fry than spice cabinet dilemmas, I really didn't have time to deal with this minor problem, so when we moved in to the house, I threw my spices into the storage rack on the door and called it a day!

While my spices were looking all organized and pretty in the door, the truth was that I wasn't even using spices out of these jars! Truth be told, about 80% of them were dried out, and even if I could use them, nothing bigger than 1/4 teaspoon would fit in the jar's opening when it came to measuring! Textbook definition of first world problem.

Since I couldn't use the spices out of their pretty jars, I just started buying spices as I needed them and tossing them into my bulk spice bin that lives in the pantry.

A practice that quickly turned my spice bucket into a spice bonanza.

Cute, right?

Not at all impressive.

A couple of weeks ago, though, I finally had time to deal with this BIG TIME DILEMMA! I bought a couple of flats of these 4-ounce mason jars...

...and a packet of Avery's 2 1/2 inch round, glossy labels.
I then emptied out my spice bucket and sorted the spices into two groups: specialty/bulky spices and everyday spices.

I transferred the everyday spices into mason jars and scribbled a label for them on a post-it for the time being.


After all of the spices had been transferred into jars, I created a cute, but simple round label for each of the spice jars and applied the label to the lid of the mason jar!


Once all the jars were labeled, I loaded them back into the pantry door's storage rack!


Placing the spices in the mason jars solved both of my problems: the mason jars provide an airtight seal AND they have a wide opening that will allow all of my measuring spoons to fit easily inside! Oh happy day!

Now that all of my everyday spices are in their new happy homes, my spice bucket only holds a couple of bulk spices and specialty spices!


You are now talking to one happy cook!