Monday, March 18, 2013

2013-2014 curriculum planning calendario.

Friends, I commend you. Some of you began to request my Curriculum Planning Calendar {first introduced to you here} for the 2013-2014 school year WEEKS ago! How do you do it?! You are so terribly on top of the ball, and I am completely jealous!

Well, here I am trying to keep up with y'all - the 2013-2014 curriculum calendar is done-skies, and I hope you are as smitten by it as I am!


I have included August 2013 through June 2014 in this pack along with a customizable, striped cover page for your document, should you choose to use it!

As always, the calendar template is a Power Point document, so you are free to edit/customize at our leisure!

Here's a close-up of the month's template:

Cutie-patootie, no?

I have also included the names of the 2 FREE fonts you will need to download from www.kevinandamanda.com if you want your calendar to look like mine!

If you want to purchase your own copy of the 2013-2014 Curriculum Planning Calendar, please head on over to my TPT shop, like now.

Keep up the planning, compadres!

As a little sussy for your Monday, the first TWO pals that leave a comment telling me your favorite thing about Spring will get this calendar FOR FREE! Don't forget to leave me your email!

Love, peace, planning.

Friday, March 15, 2013

bringing color to the kitchen, part two.

Y'all might remember that earlier this week, I talked about bringing color to our rather brown and black kitchen in cheap, temporary ways. Cheap, because Mr. Spouse has been patient enough with my desire to buy anything and everything for our casita. Temporary, because we both realize that someone else may love the kitchen as it is in its original form when we look at selling.

My first attempt to bring color to the kitchen came with me taking off some cabinet doors and installing fabric on the back-most wall of the cabinet.

The next thing I wanted to tackle was our backsplash. As you can see in the picture above, I liked the stainless steel tiles, but wasn't so crazy about the muddy tiles that took up 98% of the wall - not exactly "light and bright".

I considered painting the backsplash, but felt that this change would be a bit too permanent and future buyers might not appreciate my artistic genius. After doing a bit of online research for temporary backsplash fixes, I found a technique that many renters use - applying fabric to the backsplash using liquid starch. For example:

The starch acts as an adhesive between the fabric and the tile while also giving it a bit of a protective coating to protect from stains, water, etc. Further, when you grow weary of your cheery backsplash, all you have to do is pull the fabric off the tile! Done and done. So let's get started.

I began by finding this fabric on Amazon:

Once it came in, I decided to tackle the smallest bit of my backsplash first.

I began by cleaning off the counter and cleaning the tile with a bit of soap and water to remove any sort or residue.

After measuring the area of the backsplash, I then measured out the appropriate length of fabric...

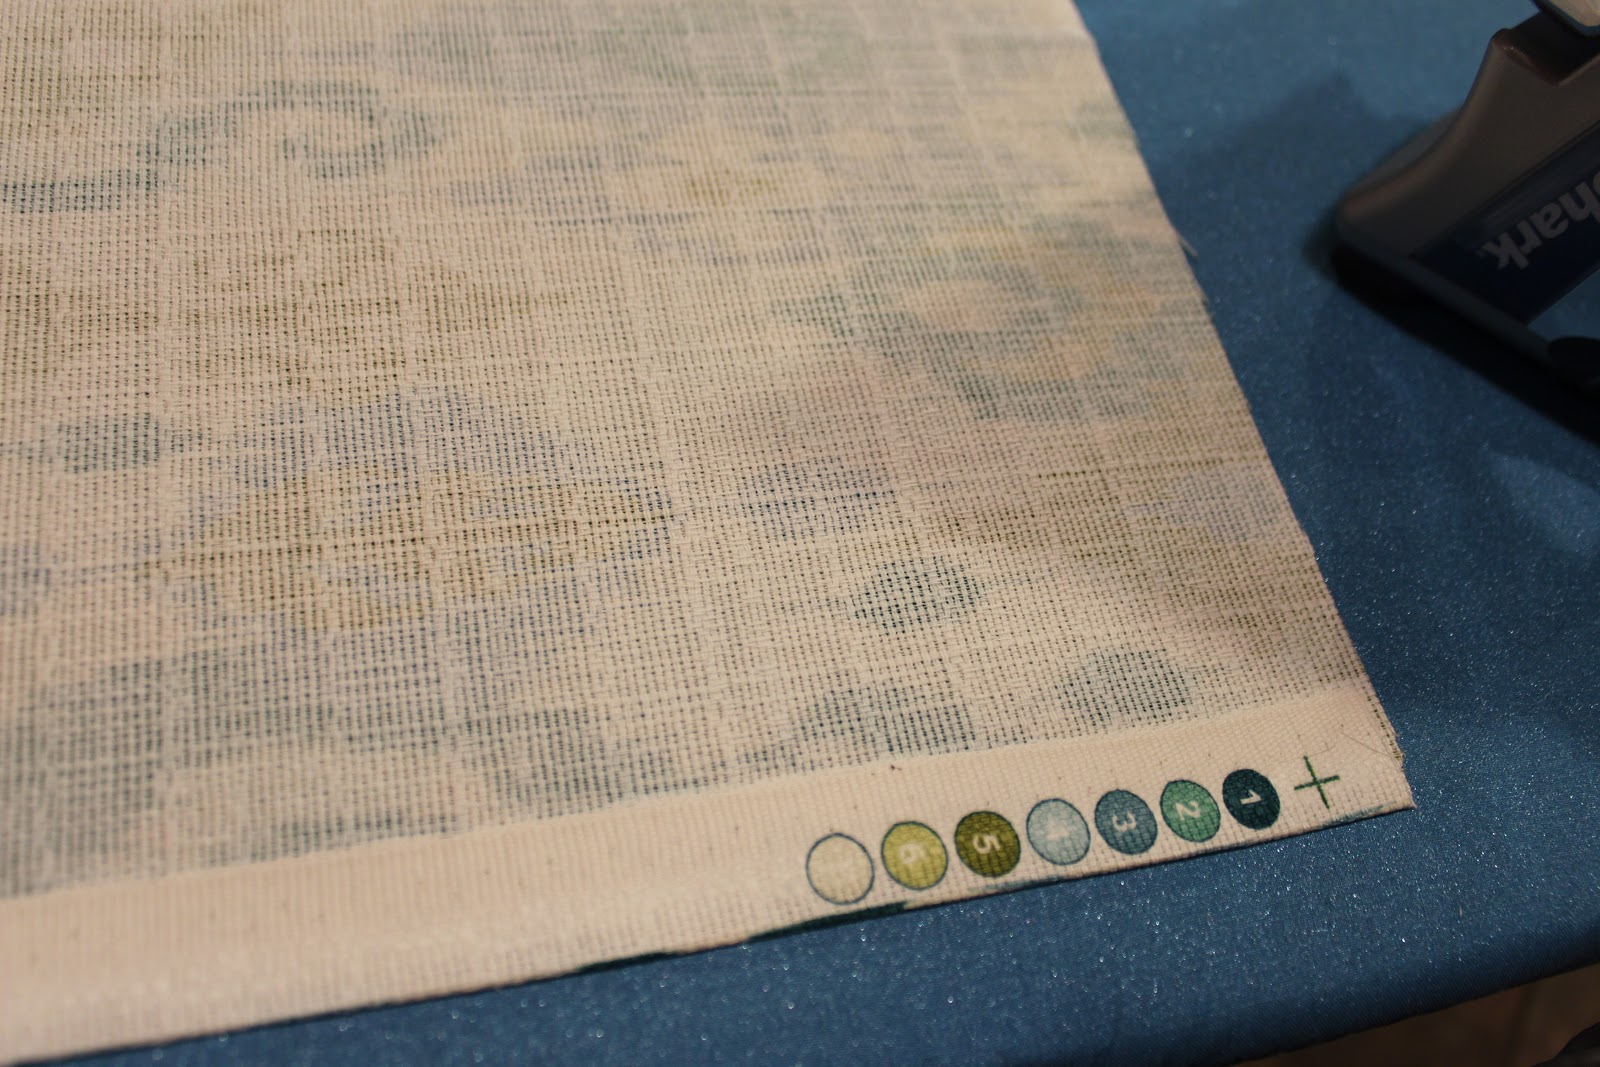
...and ironed both the wrinkles and a one-inch hem to insure that the fabric had a clean edge.


Using painters tape, I then tacked up the fabric on the wall both to make sure that the sizing was right, and then to trace around the power outlet.


Knowing that the sizing was accurate, I then began working on making a hole for the power outlet. I started by using an Exacto knife to cut a large X on the traced area.

I then tucked each triangle of fabric under...

...and ironed to make a nice, crisp edge.

It was finally time to starch! All I used for this step was a large bottle of Sta-Flo Liquid Starch (I found it in the detergent aisle of my grocery store) and a foam roller.

After covering the countertops with butcher paper...

...I first applied a light coat of starch to the tile, and then applied a generous amount of starch to the top of the fabric.

To be honest, you will curse yourself for not having 8 arms for the starching steps. There were definitely times I was starching one area and the fabric I had just finished starching fell down. Just keep applying plenty of starch and pressing the fabric onto the tile - it will stick, I promise! See?

As you can tell, I applied enough starch so that the fabric was almost translucent. After 12 hours of drying and reloading the counters, I was loving the results!

I repeated the exact same steps for the rest of the backsplash:


I am totally in love with our bright and cheery kitchen now!

Before:

After:


So far, food and liquid splatters have easily wiped off the fabric and there haven't been any stains!

How have y'all transformed your backsplashes?

Wednesday, March 13, 2013

a new way to bring organization to your life.


Today, I am glad to present an article written by Matt from SpareFoot detailing the benefits a self-storage unit can provide for those of us still seeking a bit of order in our lives.

“Classrooms, closets, and everything in between.” When I came across Elementary Organization for the first time and saw this slogan, I knew I had to throw in my two cents about being organized.

Getting organized, while I’m sure it’s on most peoples to do list, is not any easy thing to achieve. There are thousands of blogs out there giving advice to people on just how to properly do it because it is such a daunting task. And I am not just talking about organization in your home or office, I mean in your life as general – that concept is a bit too extreme to be elaborated on here but I did want to bring it up.

In this article we will just focus on how you can stay organized in a physical sense as that is the most general issue, and yet probably the most problematic.

So what is the big secret? What is the key to organizing your classroom, closet or home in general, and how do you keep them that way? From my experience when people have a well put together home or office, they usually have a closet or garage that is a disaster, so we want to try and disassociate that.

Thankfully I have found the solution to these problems. Believe it or not, renting a self-storage unit is actually a great way to keep you, your home and all of your possessions neat and tidy.

Traditionally people think of storage units as hoarders paradises that eventually get auctioned off to competitive hustlers. And while that may be true, storage units are also convenient, relatively cheap and come in numerous different sizes, so finding one to fit all your belongings should be no trouble at all.

Despite the fact that storage units are an added expense, which might be why you have held off renting one up to this point, most people that use them find that they are more than worth it.

Thanks to the help of online aggregators, finding a facility with prices in your budget range should just take a few minutes. Also, storage units will usually charge by the month so if after 30 days or so you aren’t happy with your decision (which I don’t think will be the case) you can move out all your stuff without having had sacrificed that much.

Amenities such as climate controlled and 24 hour access are also available. For example, in the summer time a lot of us down here in Texas need climate control to save our things from the unbearable heat.

As mentioned before, storage units come in a wide range of sizes so they could store anything from desks and mattress, holiday decorations and clothes, to bigger things like ATV’s and boats. Anything you need to keep safe and secure (most facilities now will have state-of-the-art security in place) can be placed in one of the many self-storage facility locations.

So, if you are missing some organization in your life and are in need of some room to help with that problem, do some searching around and consider renting a nearby self-storage unit.

This article was written by Matt Schexnayder. Matt is on the marketing team for SpareFoot and writes for the Self-Storage blog. Easily locate self-storage facilities in San Antonio  with the help of online storage aggregators that help you find the best deals on storage units all across the country.


Monday, March 11, 2013

bringing color to the kitchen.

Has it really been over a month since my last post?! Really?! Here's how I feel about that:

Ugh. Excuses are numerous, but I won't insult your intelligence with them. Let's get on to the good stuff.

Ever since we moved into our little casita, I have been dying to bring in some vibrancy to the kitchen. We were so lucky to find a house with an updated kitchen, but I have always wanted more color and brightness in the space.

Modern, yes, but bright and cheery? Eh.

Since this isn't our forever home and we don't have money growing on the trees in the back yard, I began looking for temporary, inexpensive fixes to my qualm with lack of color and brightness in the kitchen. Imagine the joy I felt, then, when I saw that Emily A. Clark had a quick, inexpensive solution to opening up her kitchen that had a similar color scheme to ours.

I absolutely loved that simply removing her cabinet doors brought so much space and lightness to her kitchen! This type of project would fit my requirements perfectly:
  • Temporary (cabinet doors can always be re-installed)
  • Inexpensive (the only cost you are looking at is the medium you choose for the back of your cabinet)
But to bring a bit more color into my cabinets, I decided that rather than painting the back of my cabinet like Emily did, I would install fabric. The fabric would bring the color our kitchen so ardently needed while still offering the chance for me to remove it easily if I ever want to go a different direction.

I browsed the intraweb for a few days before finding this perfectly bright and cheery fabric from fabric.com:

I started this project off by emptying out the cabinet (don't mind the electric cords for the under-cabinet lighting)...

...and removing the doors by simply unscrewing the hinges.

Super quick and easy!

I then removed the shelves from the cabinet:

I measured the area of the back wall of the cabinet, trimmed the fabric accordingly, and ironed the fabric to remove any creases:

I then folded about an inch hem on each side...

...and ironed the fold to create a sharp, crisp edge.

After ironing all four sides, I had nice, clean edges that wouldn't show any fray in the cabinet:

Using a staple gun, I then began installing the fabric onto the back wall of the cabinet:

I stapled as close to the sides of the cabinet as the staple gun would allow, but the pattern of the fabric also helped to hide the staples, so camouflaging wasn't really needed. On the bottom edge of the cabinet, I made sure to mask all electric cords from the under-cabinet lighting system:

About 3 minutes later, the entire cabinet was covered! I love me a quick and easy project!

After re-installing the shelves...

...the only thing left to do was load up and style the shelves!


I love how such a small change really opens up and brightens this corner of the kitchen!

Before:

After:

And the joy of seeing all those white, ironstone, and milk glass dishes I've had hidden away is an added bonus!

What temporary fixes have y'all made to your spaces lately?